1st Grade Fall Scarecrows
- Devynne Bonte
- Nov 14, 2021
- 2 min read
To celebrate the harvest season and to start my first lesson of my student teaching career, our class learned about and created their own scarecrows!
We first briefly engaged in dialogue about these autumn objects. I prompted students, taking answers to questions: Where do we see scarecrows? What do they do? What do scarecrows look like? Are all scarecrows alike or the same? What makes a scarecrow? Through this discussion we learned:
Scarecrows live on farms and around crops.
Their job is to protect plants and growing food from birds and other natural predators.
Scarecrows look like us! They have eyes, mouths, noses, bodies, arms, and legs!
Not all scarecrows look the same! All different materials can be used to make a scarecrow.
Most often, a scarecrow can be made from hay, sticks, clothing, buttons, potato sacks, and stitching!
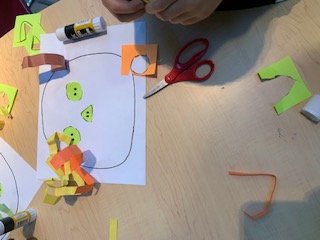
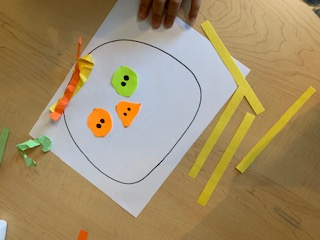
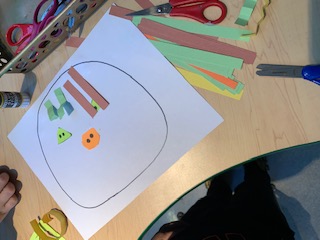
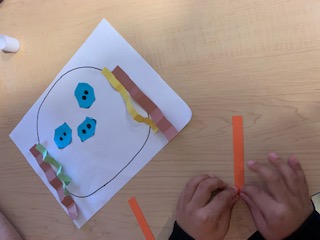
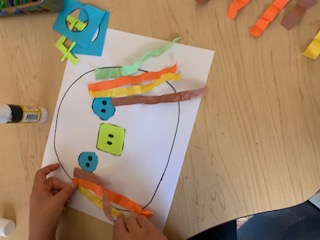
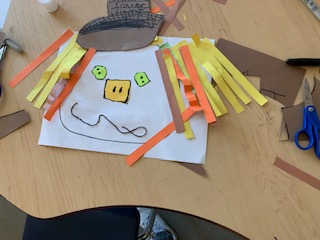
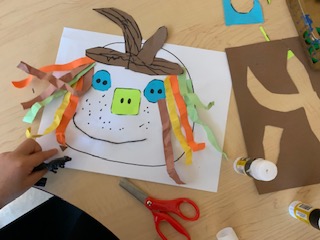
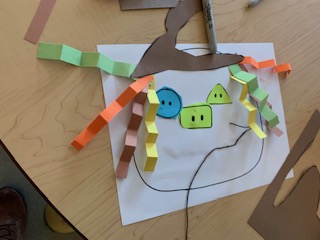
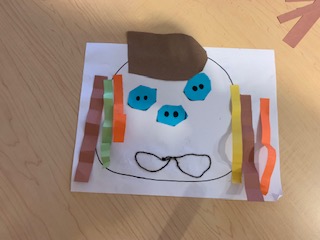
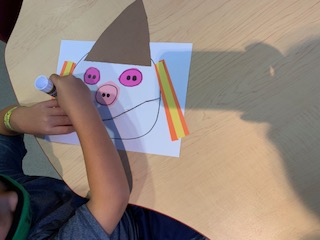
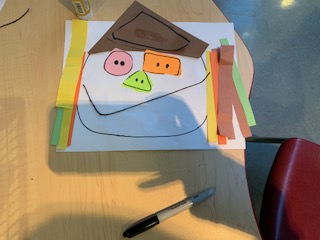
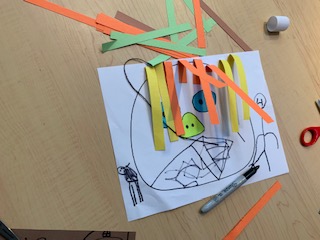
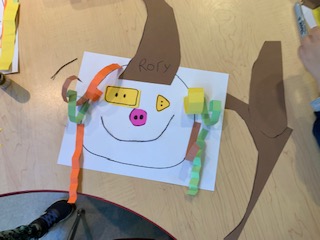
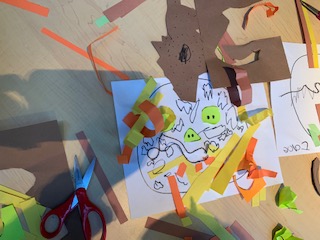
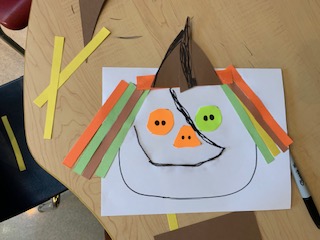
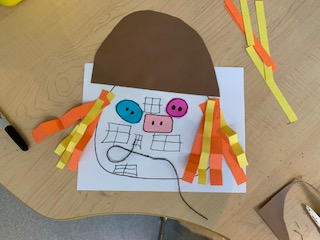
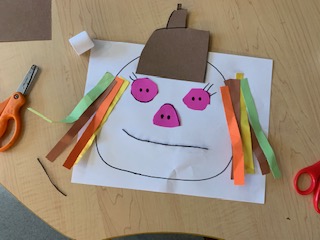
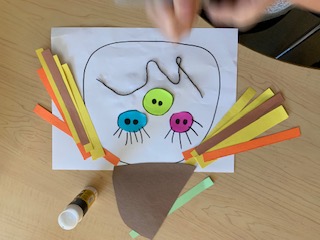
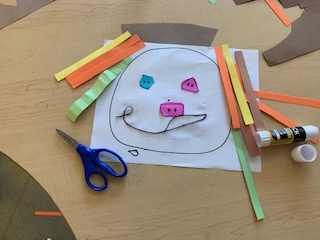
To start our scarecrow portraits, we first selected our buttons from a pile! We were given options of round buttons, square buttons, or triangle buttons in bright shades of the rainbow! We were instructed to use our scissors to trim the edges of our button templates (which were centered on square pieces of paper) before gluing them to our face.
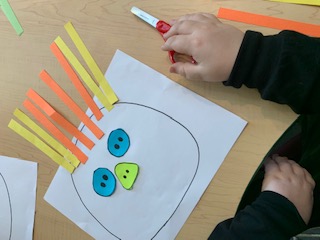
After we created eyes and a nose with our buttons, we were given strips of green, brown, orange, and yellow construction paper. Using our hands, we had the option to crumble or crimp our paper to give it texture before gluing it to our head to create hay hair!


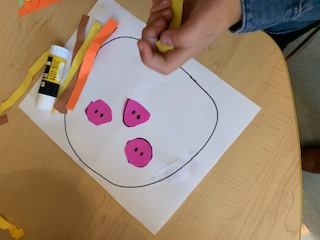


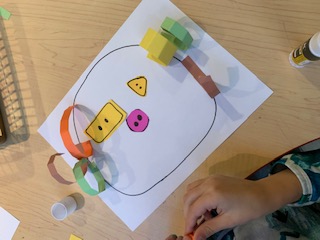


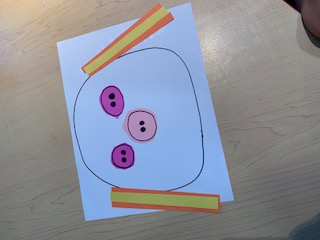

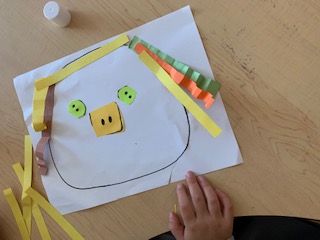


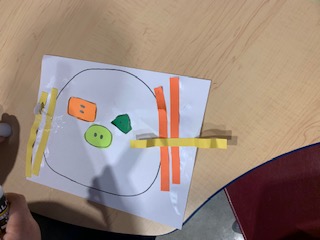

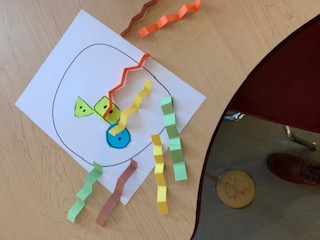
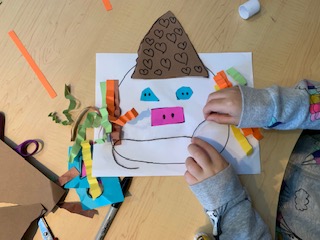
Our next step was to create and place a hat on our scarecrow. We were given a brown rectangular sheet of paper. From this paper we could first draw a hat shape (whether it be a triangle, a top hat, a square, or a silly shape) and/or freely cut out a hat with our scissors. During this time, we were also given the option to draw and create patterns on our hat with a sharpie. I also instructed children to "feel free to add draw on your scarecrow's face, maybe your scarecrow has:
tattoos
freckles
scars
birthmarks
stickers"
Our last step was the add our scarecrow's mouth. The children were given a piece of black yarn and allowed to create any shape of mouth they desired, including a smile, a frown, a circle for an open mouth, a squiggly line, or any other shape.


Comments